Quick Start Guide


If you need support, or would like to give us suggestions about the Radio Ripper, please send us an email. We love to hear from you. You may send it to radioripper@wide.gr, and we’ ll make our best to reply within 24 hours.
The Radio Ripper Team
Add a new radio station in the library
1. Click Actions - Add Radio
2. Press Enter on the added radio to give a preferred name
3. Click Actions - Set URL and Folder
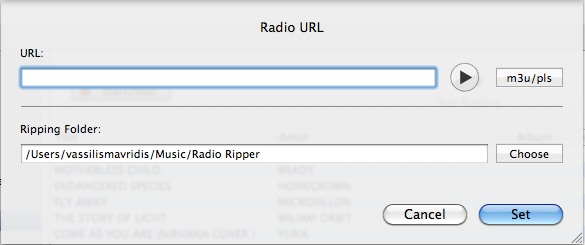
In the URL field you can type the shoutcast url, drug and drop a .pls or .m3u file. You may also press the m3u/pls button to select a file from system's dialog. Note that the first entry of the playlist files is retrieved. If you want to test the url, you can press the play button to preview the audio streaming.
Next, you should provide the Ripping folder, the folder where the mp3 songs will be written. You may just type it or select it from a dialog by pressing the Choose button.
Finally press Set button and you're almost done.
Mac OS X Lion Users:
Due to application sandbox technology, do prefer your home “~/Music/Radio Ripper” folder (or its subfolders) as the Ripping folder. Otherwise you'll have to confirm the folder (by re-selecting it) each time you launch the application.
Start Ripping (Recording)
After setting up the URL and the Ripping Folder for your radio, click Actions - Start / Stop Ripping to start recording the radio station!
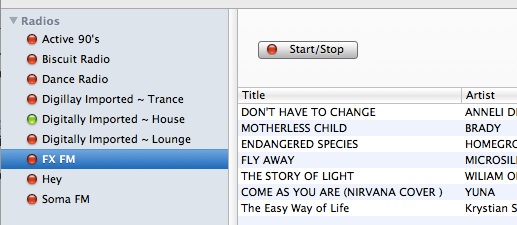
When the ripping (recording) has successfully started, the red dot next to radio's title changes to green.
You may rip more than one radios simultaneously!
Ripped (recorded) songs
The first song is skipped, so you'll have to wait until a fresh new song start.
The Song List is refreshed automatically when a new song has completed recording.
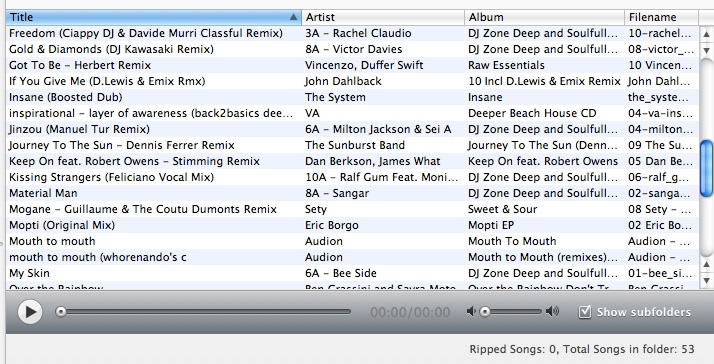
You can listen - preview to the recorded songs by selecting them and pressing the Play Button (or press Enter key).
Basic Ripping options
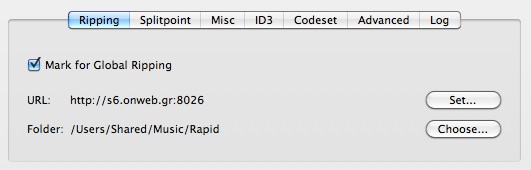
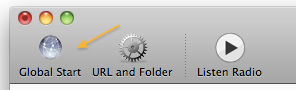
When you mark a radio "for Global Ripping" then when you press the Global Start button (toolbar), this radio along with the others marked for global ripping as well, will start being ripped (recorded).
Since this is a quick start guide we'll mention the most important options…
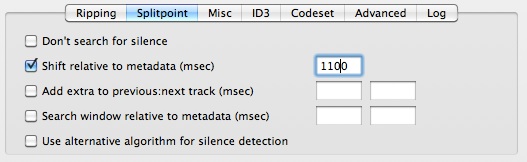
Radio Ripper searches for silence between radio's metadata changes and splits the songs to the most silent position. If no silence is detected the above options are taken place.
Examples:
- Each of the songs contain about 5 seconds of the previous song: Set "Shift relative to metadata" to 5000
- Each of the songs contain about 5 seconds of the next song: Set "Shift relative to metadata" to -5000
- Each of the songs contain between 5 and 10 seconds of the previous song, but it depends on the song. So if you want to edit them later set: "Shift relative to metadata" to 7500, and "Add extra to previous:next track" to 2500 - 2500
The first 2 options are self-explanatory.
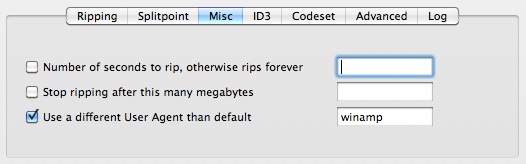
When you connect to a shoutcast server (internet radio), the server knows the application title that you're connecting with, so if you want to appear as winamp leave that option as is.
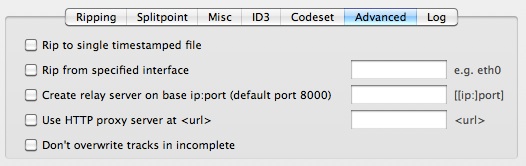
If you want to record to a single file, select the first option.
If you're connect to the internet via more than one interfaces, you can select from which to rip (record).
- Important -
Radio Ripper is for your own personal use, you must not redistribute the content you record with it.


Copyright © 2011 - 2013 Wide SD ~ All rights reserved.